Write a prompt
Choose a model and a mode, use slash commands and file mentions, attach files, and watch how much context is left.
The message box at the bottom of a chat is where you talk to the agent. Besides text, it holds the controls for the model, how much the agent may do on its own, and what you send along with your words. The launcher uses the same box, so everything on this page works there too.
Send and add lines
- Press
Enterto send.Ctrl+Enter(Cmd+Enteron macOS) also sends. - Press
Shift+Enterto start a new line.
If the agent is still working when you send, Termul queues your message and sends it when the agent finishes. See Queue prompts.
Change the model, effort, and fast mode
Click the model button. It sits to the left of the mode button and shows the current model, followed by the effort level when the agent has one.
- Click a model in the list to switch to it.
- Click a level in the effort row, such as Low, Medium, or High, to set how hard the model thinks before it answers. Higher effort is slower and gives more careful answers.
- Click the lightning button at the end of the effort row to turn fast mode on or off. It turns yellow when it is on.
The effort row and fast mode appear only when the agent offers them. When a model has no fast mode, the button is off and its tooltip says "Fast mode is not available for this model". To hand the chat to a different agent instead, see Switch agents mid-chat.
Choose how much the agent may do
The mode button sits between the model button and the send arrow. A mode controls whether the agent asks you before it edits files or runs commands. Each agent has its own list of modes. Termul sorts them into groups so you can see how much each one allows:
- Ask first. The agent asks before it edits files or runs commands, or it only reads and plans. Pick these when you want to check each step.
- Let agent act, where agent is the agent's name. The agent edits files, and sometimes runs commands, without asking first. Pick these for routine work you will review afterwards.
- Use with care. The agent does everything without asking, including commands that can delete files or push code. These modes sit at the bottom of the menu, under a line. They have a yellow icon, and their description ends with "Use with care." While one is on, the icon on the mode button is yellow too.
Modes that Termul does not recognize are listed under Other modes. Read their descriptions in the menu. Termul shows the group names only when the agent's modes fall into more than one group.
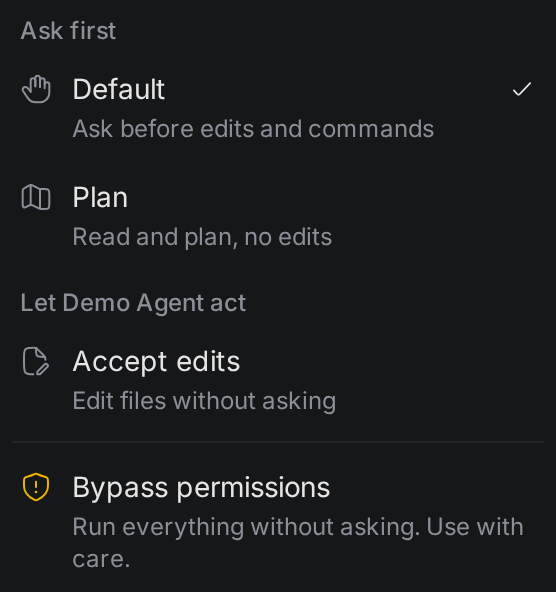
The mode button appears only when the agent offers modes.
Run a slash command or a skill
Type / at the start of the box, or after a space, to open the slash menu. Keep typing to filter it. The menu has these sections:
- Skills. Instruction packages installed on your computer or in the project. See Set up agents to add them.
- Commands. The commands the agent offers, such as a review command.
- One section for each agent setting, such as Model, Thinking Level, or Mode. Picking a value here changes the setting right away.
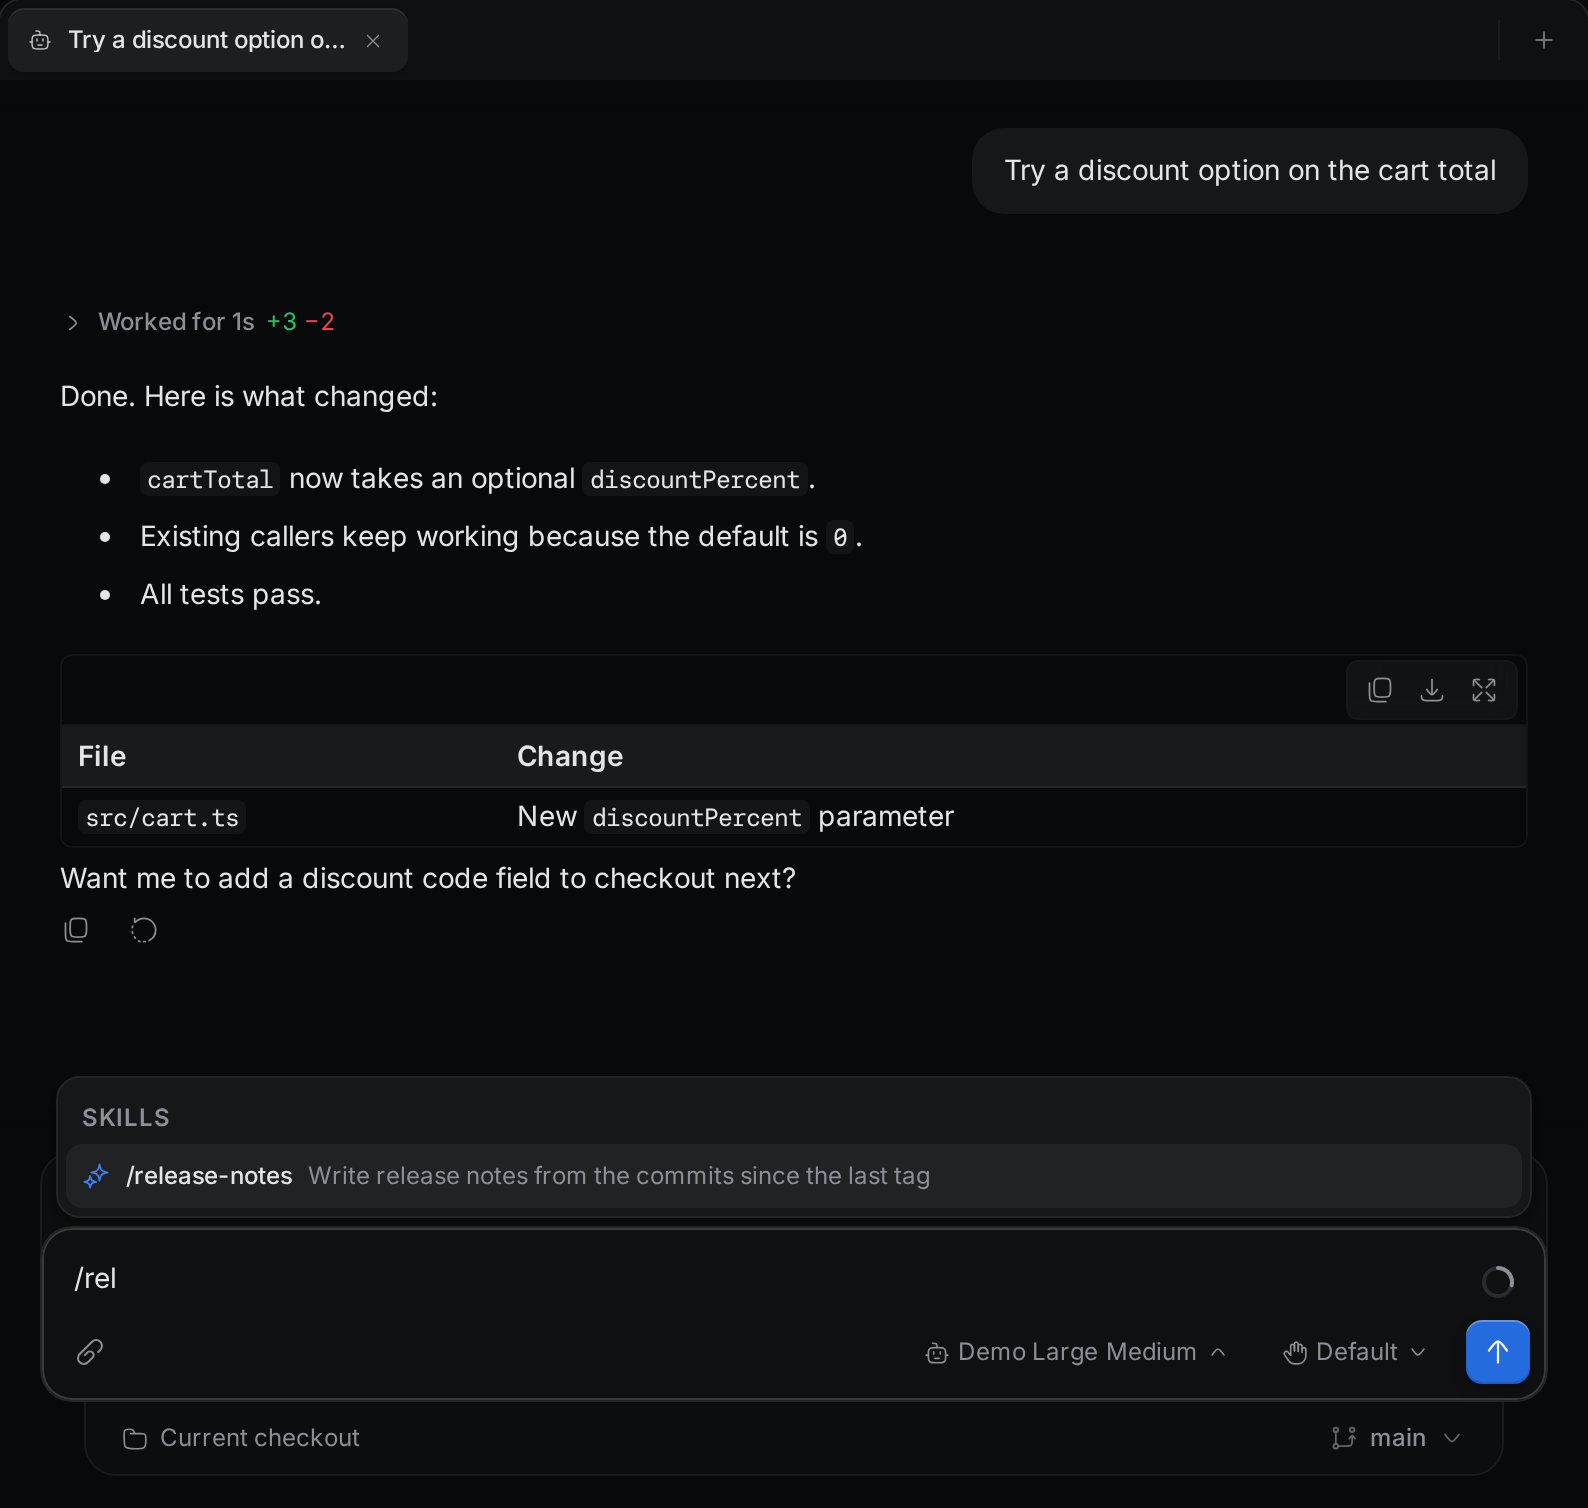
Use the arrow keys to move and Enter or Tab to pick. A skill or a command becomes a pill in the box. Type the rest of your message after it. A message can hold one command. To remove a pill, press Backspace right after it.
Pressing Esc while the slash menu is open closes the menu and also clears everything in the box.
Mention a file
Type @ and part of a file or folder name. A menu lists matching Files and Folders in the chat's folder. A bare @ lists the files you mentioned Recently in this project.
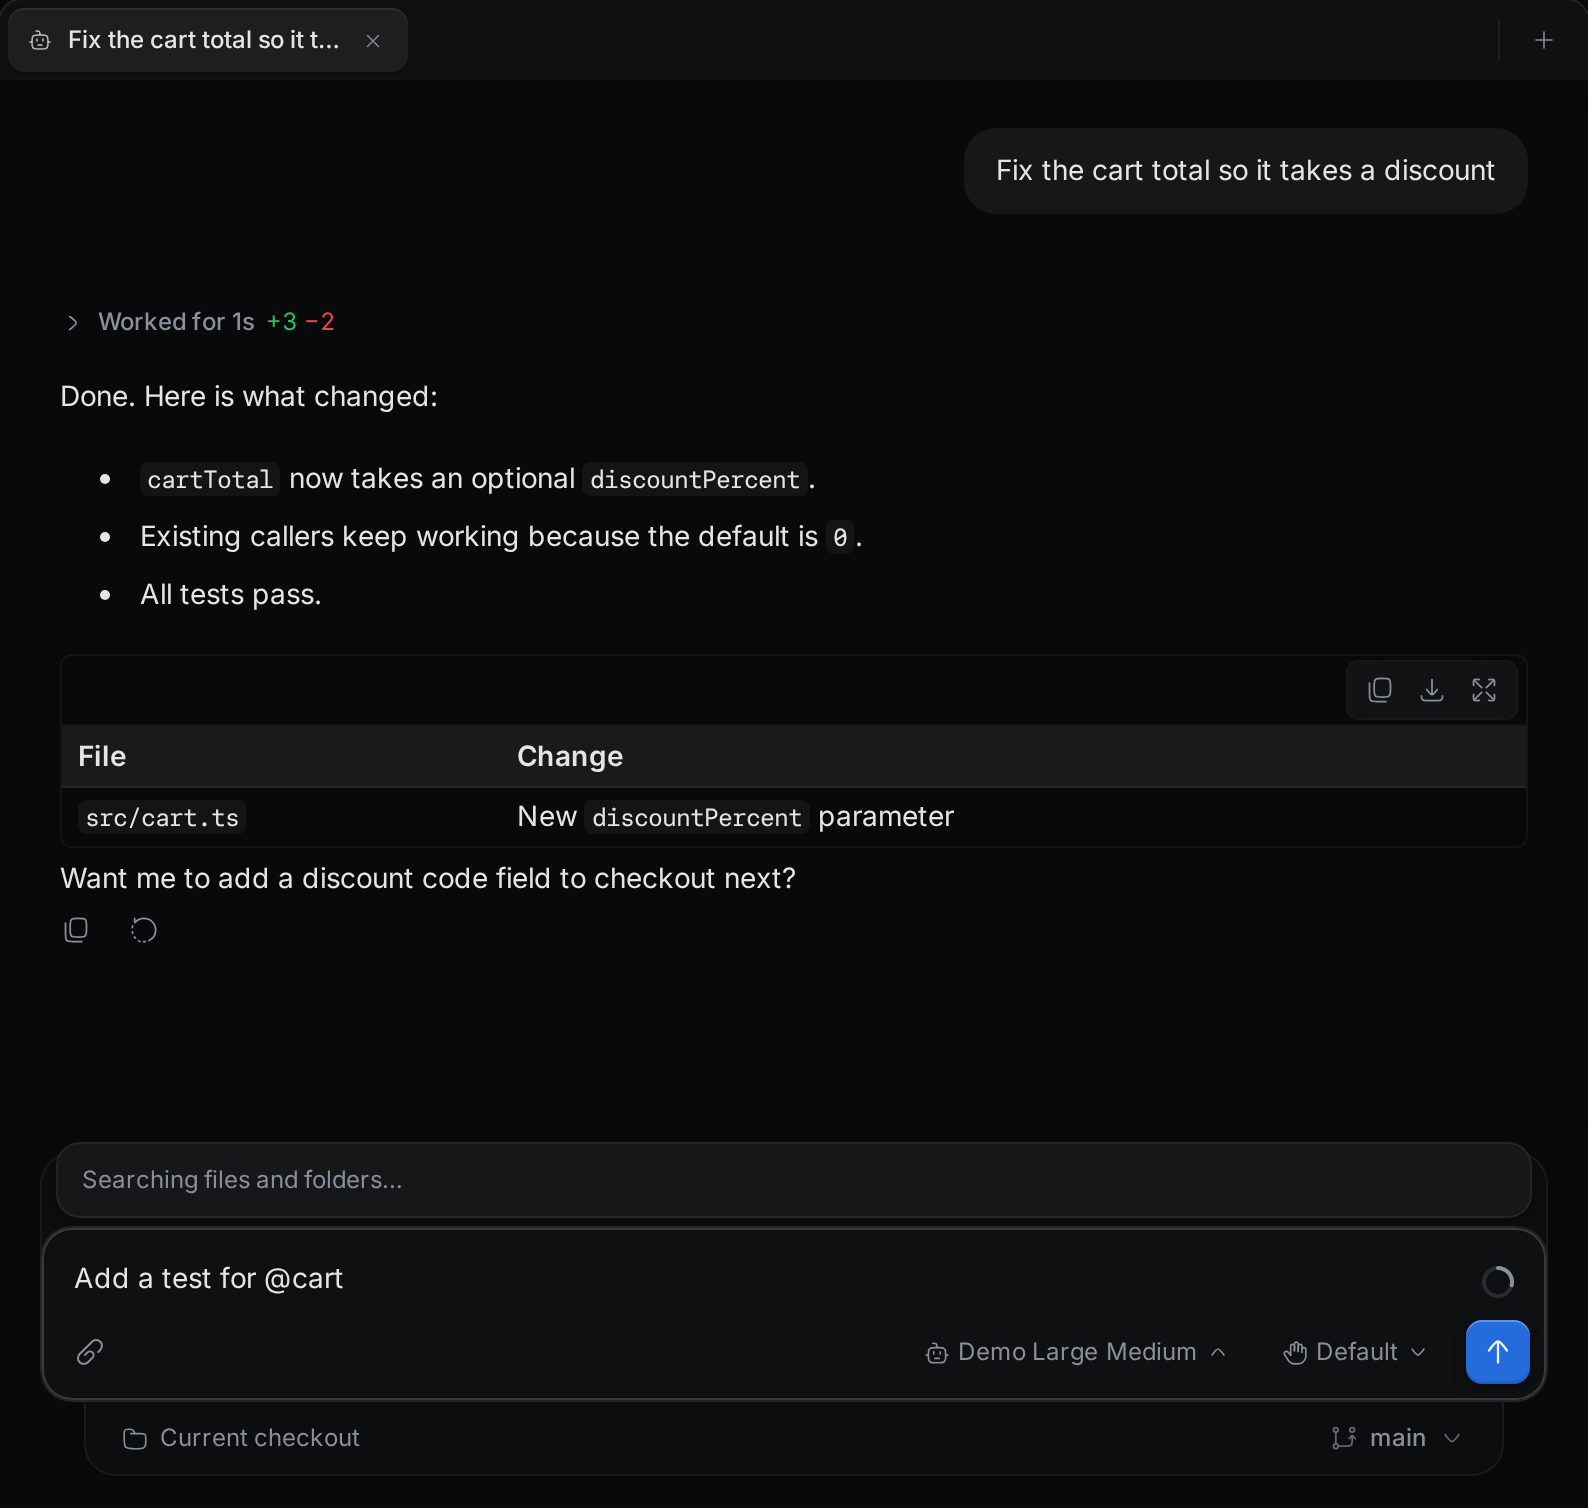
Pick an entry to add it as a pill. When you send, the agent gets the file's path, so it can open the file itself. Press Esc to close the menu and keep what you typed.
Attach files and images
You can attach text files, code files, and images. To attach a file, use one of these:
- Click Attach files (the paperclip) and choose files.
- Drag files onto the box. The box shows "Drop files to attach".
- Paste an image or a screenshot.
Each file shows as a chip above your text. Hover an image chip to see a preview. Click the X on a chip to remove it.
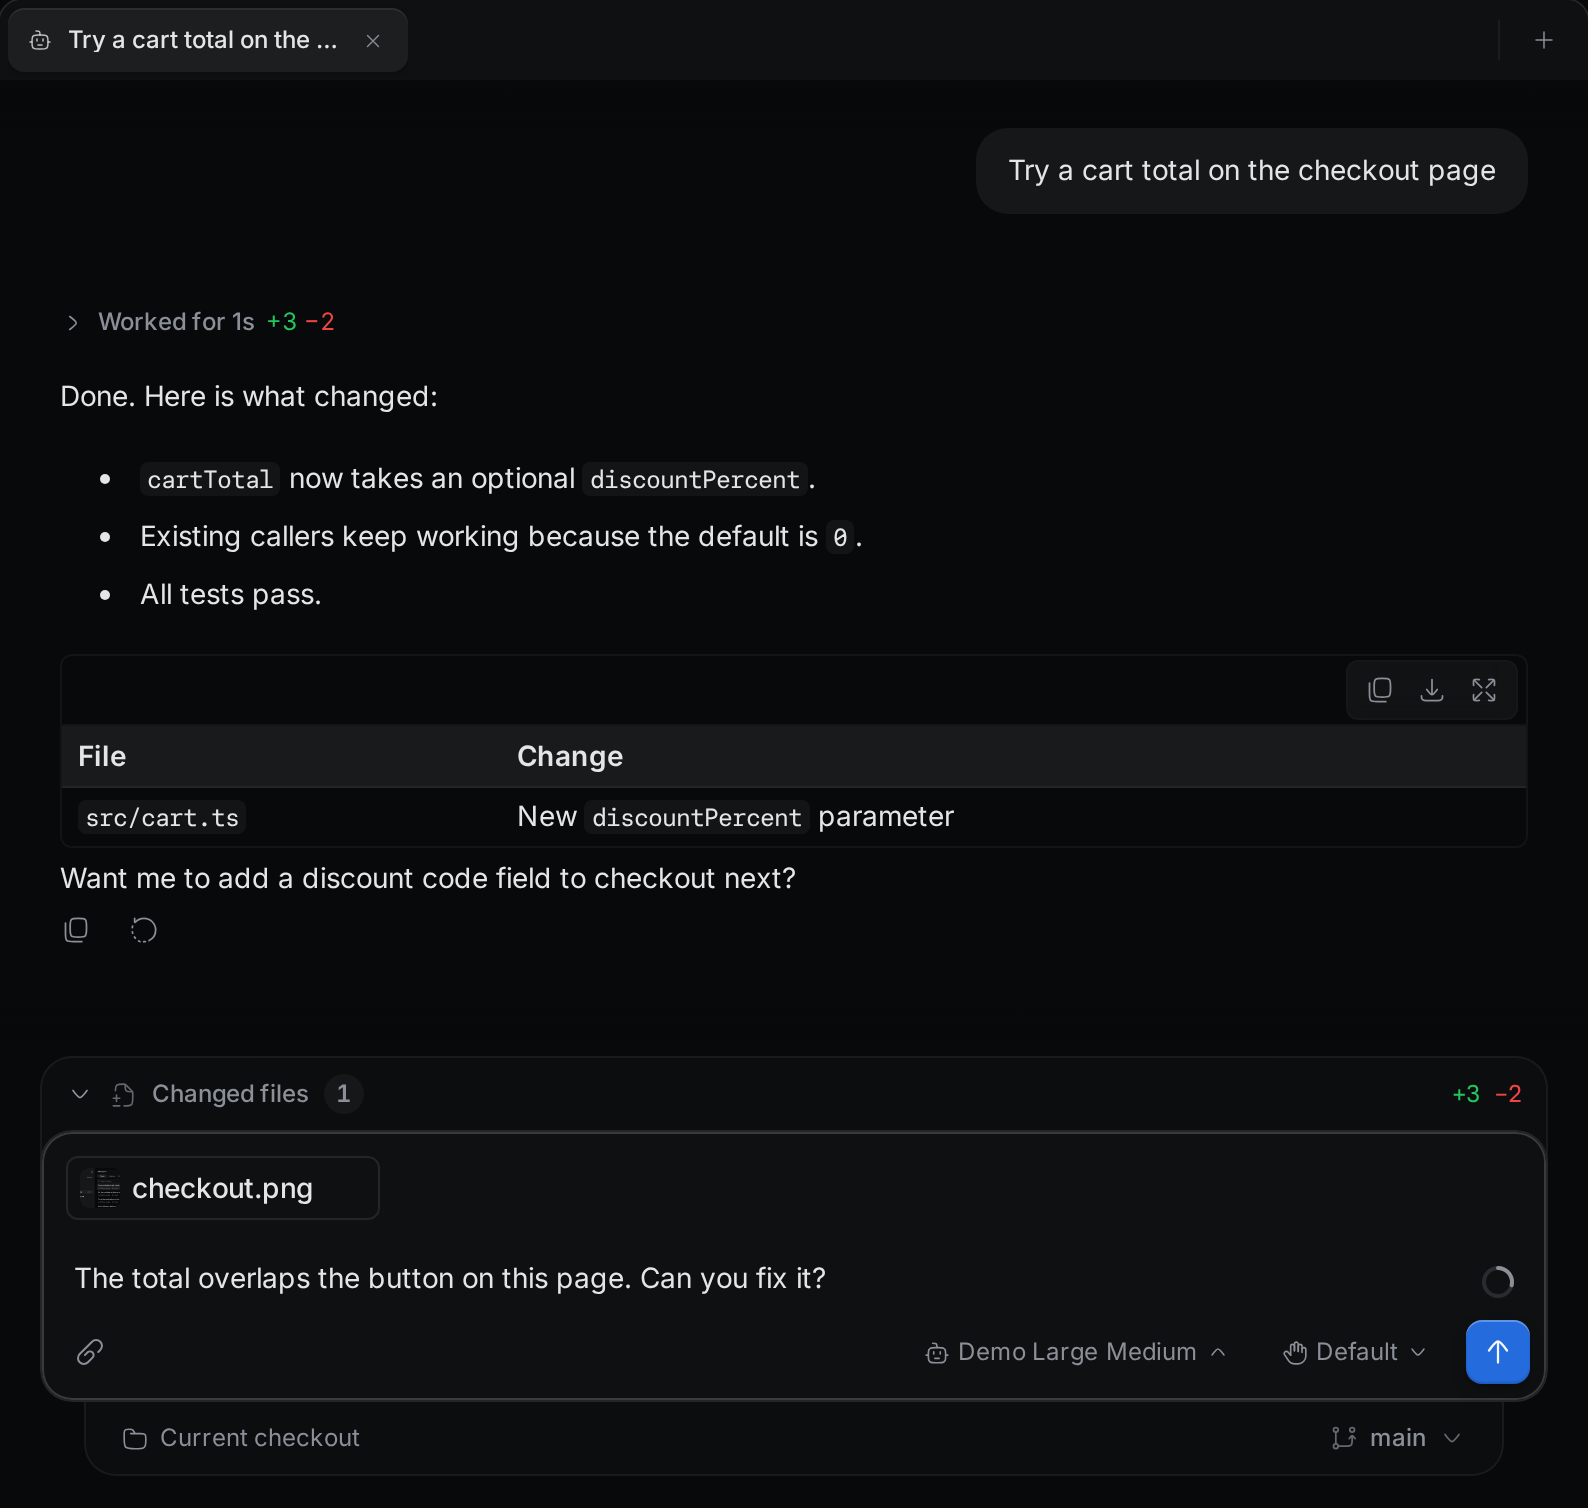
Other file types, such as PDFs, are not supported. Termul shows "Unsupported file type (text or image only)".
Files that you drag in or paste, and every file you attach in a browser, go into the message itself. These limits apply to them:
- A text or code file can be up to 512 KB. The agent must accept files in a message. If it does not, Termul asks you to use the paperclip instead, in the desktop app.
- An image can be up to 10 MB when the agent accepts images.
- In a browser, the agent must accept images. If it does not, Termul shows "This agent can't accept images in the browser".
- In the desktop app, an image for an agent that does not accept images is saved to a temporary file. The agent gets its path.
A file over the limit shows "File too large".
In the desktop app, text and code files that you pick with the paperclip are sent as paths. The agent reads them from disk. Images you pick go into the message when the agent accepts images, and are sent as paths when it does not.
Check how much context is left
An agent can hold only a certain amount of conversation in its memory, called the context window. When it fills up, the agent forgets or summarizes earlier parts of the chat.
Many agents report how full their context window is. After your first message, a small ring appears in the top-right corner of the message box. The ring fills as the conversation grows. Click it to see the numbers:
- How much of the window this conversation uses, as a percentage and in tokens.
- How many tokens remain.
- The total in context, including the agent's own instructions.
- The cost, when the agent reports it.
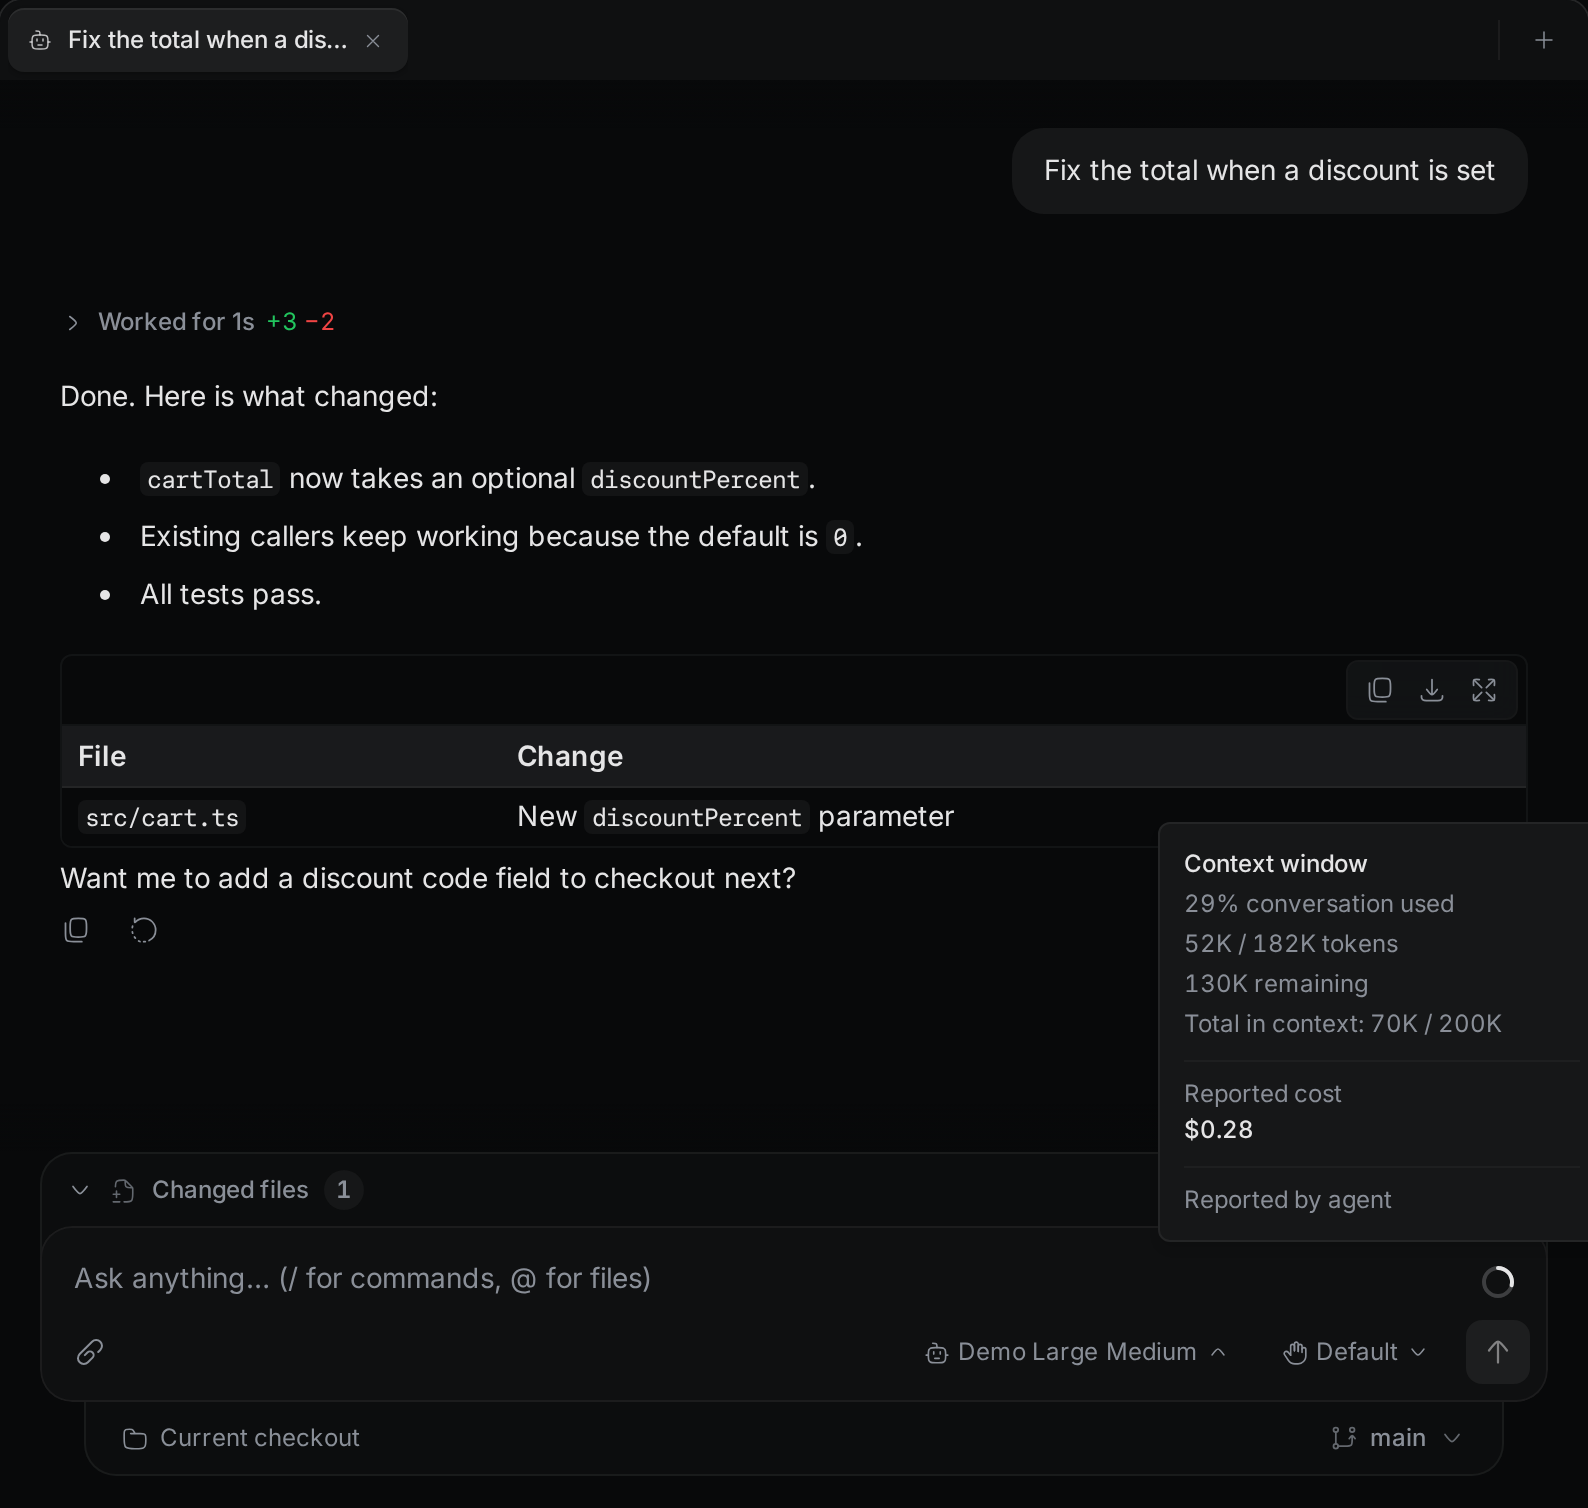
The ring appears only when the agent reports its usage, and only after the conversation uses about 1% of the window. The model panel shows the same numbers in its Context row.